How to Use .webp Images on Websites (Complete Guide)
WebP is an image format developed by Google around 5 years ago. Commonly referred to as weppy, this format is a boon for web designers and developers who aim to minimize and optimize image sizes.
In this guide, I will shed light on why WebP might just be the solution you’ve been looking for.
Key Features of WebP Images
But first, let’s quickly touch on some key features of WebP:
- It has the file extension of .webp.
- It supports both lossy and lossless compression techniques.
- Images in WebP with lossy compression are typically 25-34% smaller than their JPEG counterparts.
- For lossless compression, WebP images can be 25% smaller than PNG images.
- It fully supports lossless transparency, similar to PNG with an alpha channel.
- WebP even supports animation, making it a potential replacement for animated GIFs.
To sum it up, WebP offers a robust solution for reducing the sizes of JPEG, GIF, and PNG images. Now, let’s dive deeper into how to make the most of this format.
Is WebP Smaller? An Experiment with Images
One of the best aspects of claims on the web is their verifiability. We can always run experiments to assess their truthfulness and authenticity. I conducted several tests to determine how much an image’s size could be reduced when converted from various formats (JPEG, PNG, and GIF) to WebP.
JPEG vs. WebP
Here’s a JPEG image taken from Pexels.
Filesize: 165kb.

This is the same image after being optimized using JpegMini.
Filesize: 101kb.

And here’s the same image, optimized and then converted to the WebP format.
Filesize: 70kb.

For reference, here are the file sizes of the same image when converted to other formats:
- GIF: 285kb
- PNG 8: 241.2kb
- PNG 24: 657.6kb
PNG vs. WebP
Here’s a PNG image with transparency. Source.
Filesize: 587kb.

Here’s the same PNG image after being optimized with tinypng.
Filesize: 278kb.

And here’s the same image after being converted to the WebP format.
Filesize: 112kb.

GIF vs. WebP
Upon converting to WebP format, a JPEG image reduced from 165kb to 70kb, and a PNG image dropped from 587kb to 112kb. To further test the efficiency of WebP on animated GIFs, consider the following results:
Summary
Below is a table summarizing the results of the experiment:
| JPEG | PNG | GIF (Animated) | |
|---|---|---|---|
| Original | 165kb | 587kb | 6.8mb |
| Optimized Using Tools | 101kb | 278kb | – |
| Converted to WebP | 70kb | 112kb | 6.3mb |
Without diving deep into calculations, the results show a significant reduction in file sizes.
Furthermore, there’s hardly any noticeable difference in image clarity and resolution. Given the smaller file sizes without sacrificing quality, it’s evident that WebP is a format worth considering.
Tools to Convert Images to WebP
If you’re convinced about the benefits of WebP and are eager to adopt this format, let’s explore various tools to convert your images. The methods discussed vary in terms of controls, ease of use, and convenience. Choose the one that fits your needs best.
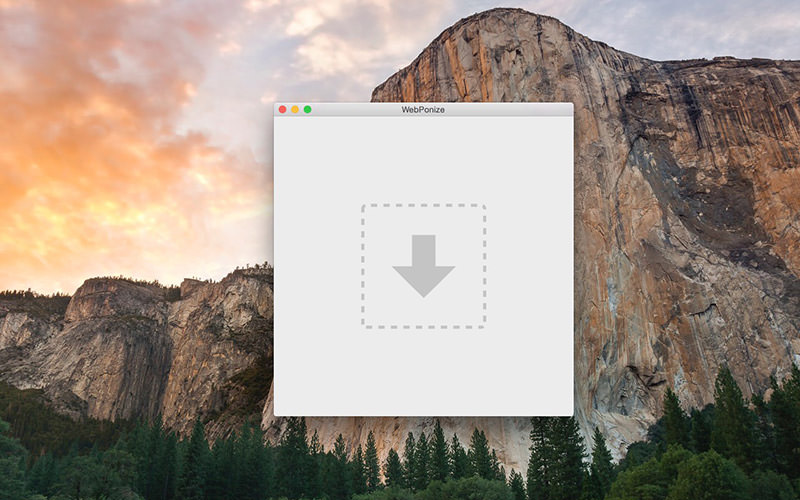
WebPonize for Mac
WebPonize is arguably the simplest and quickest method to convert images to WebP format on a Mac. Simply drag and drop your images into WebPonize, and it handles the conversion for you. The application provides details like the original size, converted size, and the percentage reduction.
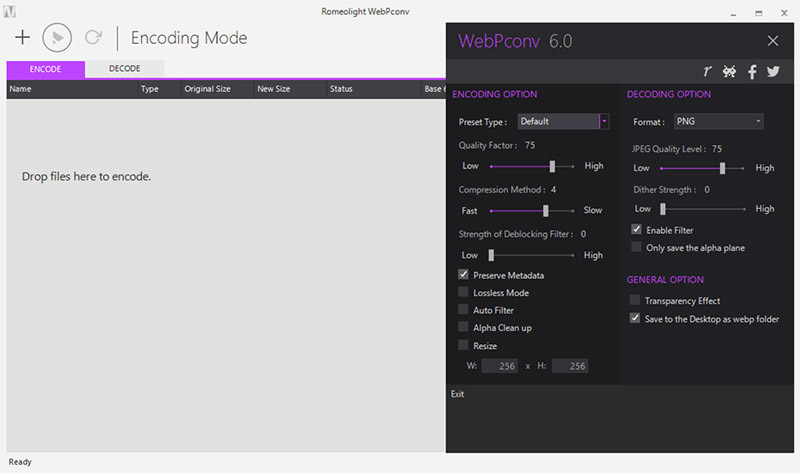
Webpconv for Windows
For Windows users, Webpconv is a must-have tool. It even comes in a portable version, allowing you to run it directly from a flash drive.
Converting with Command Lines
If you have a penchant for command lines and want a more hands-on approach, the tools cwebp and dwebp might be for you. While cwebp converts your JPEG, PNG, or TIFF images into WebP format, dwebp reverts them back to PNG. Let’s delve into this process.
The following guide is for Mac users. For those on Windows and Linux, please click here.
Read Also: How to Save .WEBP Images as JPG and PNG
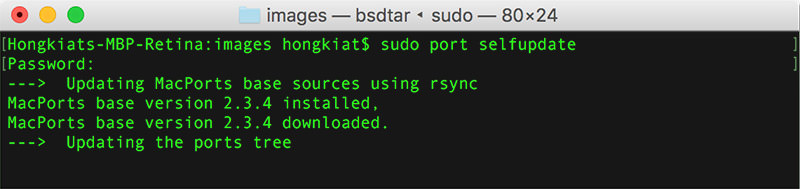
Step 1: Setting Up MacPorts
Begin by ensuring Xcode is installed on your machine. Once confirmed, follow the steps below:
- First, download and install MacPorts. If MacPorts is already set up on your Mac, skip to the next step.
- Open Terminal.
- Input
sudo port selfupdateand hit Enter. This action will update MacPorts to its most recent version. - Then, enter the command
sudo port install webpand hit Enter. This step installs the libwebp, which is the WebP Library.
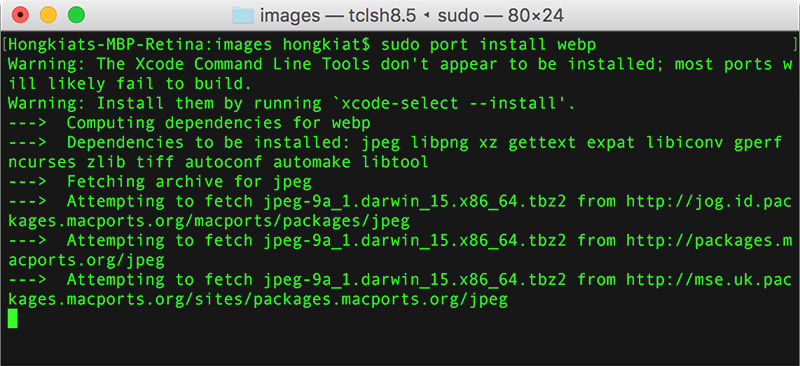
With these steps completed, you’re now prepared to convert images to WebP using command line instructions.
Step 2: Converting and Reverting with Command Lines
To convert your images using command lines, follow the commands below:
Format:
cwebp -q [image_quality] [JPEG/PNG_filename] -o [WebP_filename]
Example:
cwebp -q 80 example.png -o example.webp
To revert images from WebP back to their original format, use the following command:
Format:
dwebp [WebP_filename] -o [PNG_filename]
Example:
dwebp image.webp -o image.png
Additional Information: If you’d like alternative methods of conversion, here are instructions for utilizing Grunt and Gulp tasks to convert JPG/PNG files into WebP format.
Converting with Online Tools
If you prefer not to install any software on your computer, there are online tools available for converting images to WebP. Here are some popular options:
Note: A quick search for “convert to WebP online” on Google will yield even more tools.
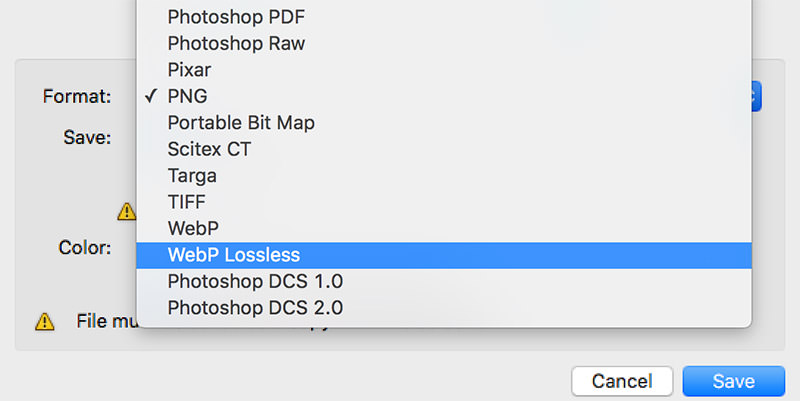
Convert Using a Photoshop Plugin
For those who use Photoshop, there’s a handy plugin that facilitates saving images directly in WebP format. The plugin is compatible with Mac and both 32-bit and 64-bit versions of Windows.
WebP Image Browser Support
When discussing compatibility, it’s noteworthy to mention that WebP format images can be viewed on a few browsers. Here’s the current list of browsers supporting WebP (source):
- Chrome and Chrome for iOS
- Opera and Opera Mini
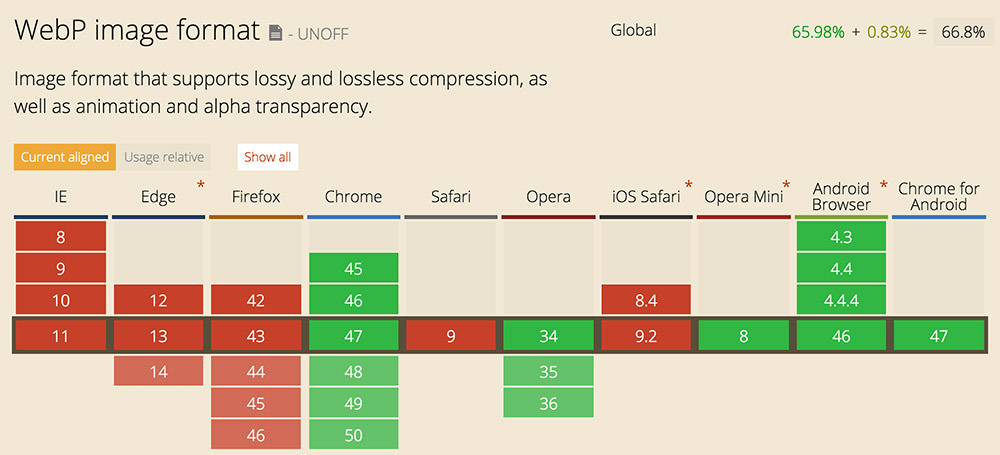
Unfortunately, browsers like FireFox and Safari do not fully support the WebP format natively. However, a workaround is available through the WebPJS JavaScript library. This allows you to convert WebP images into dataURI strings on the client side.
Fallback to Other Formats (If WebP Is Not Supported)
When serving images to a diverse range of users, it’s crucial to provide fallback options for browsers that might not support the WebP format. The best approach is to revert to traditional formats like JPG or PNG.
Here’s a method to implement this:
<picture>
  <source srcset="example.webp 1x" type="image/webp">
  <img src="example.jpg" alt="Description of the image">
</picture>
Explanation:
In the above code, browsers like Firefox or Safari, which don’t support WebP, will display the example.jpg image instead.
How to Preview WebP Images
While WebP images are readily viewable on Chrome and Opera browsers, local previews may require specialized tools depending on your operating system.
For Mac users, WebPQuickLook offers the capability to preview WebP images using the Quick Look feature. Simply select or highlight the image and press the spacebar.

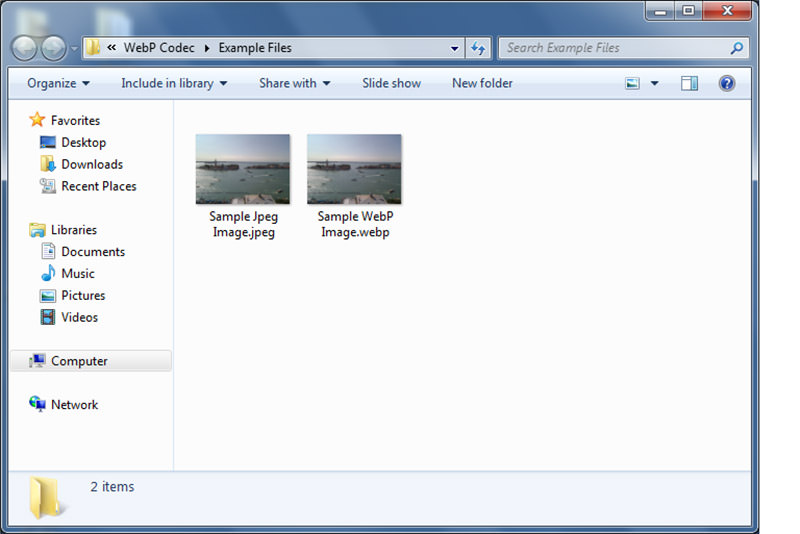
Windows users can turn to WebPCodec, which provides thumbnail previews of WebP images within the File Explorer. The tool displays both the WebP and its JPEG counterpart.
Recommended Readings
For those keen on exploring more about WebP and its associated technologies, here’s a collection of comprehensive resources: