How to Migrate from ESLint to Oxlint
ESLint has been the standard for over a decade. It’s mature, battle-tested, and highly customizable with a huge ecosystem of plugins and rules.
It has become an essential tool in large JavaScript and TypeScript projects. It catches errors and keeps your code consistent.

But as projects grow, ESLint can become slow and resource-heavy. What should be a quick feedback loop often turns into a bottleneck, slowing developers and driving up CI/CD costs.
Enter Oxlint.
What is Oxlint?
Oxlint is a high-performance linter for JavaScript and TypeScript built entirely in Rust.
Its goal is to create a simple toolchain that is fast, lightweight, and easy to use. With zero setup required, Oxlint comes ready to catch common errors and redundant code right out of the box.
Here are some of the key features that make Oxlint an attractive alternative to ESLint:
| Feature | ESLint | Oxlint |
|---|---|---|
| Core Technology | Node.js | Rust |
| Execution Model | Primarily Single-Threaded | Parallelized, Multi-Core Scaling |
| Configuration | Requires explicit configuration for functionality | Zero configuration required |
Now, how do you actually move from ESLint to Oxlint?
Luckily, the process is pretty straightforward.
We’ll walk through the steps for setting it up, replacing ESLint in your workflow, and making sure your team gets the performance boost without losing the guardrails you rely on.
Migrating Existing Project
These steps assume that you already have ESLint set up in your project and that it has an ESLint flat config file.
To get started, you can run:
npx @oxlint/migrate eslint.config.mjs
After running the migration command, you should see a new file called .oxlintrc.json in your project directory. This file contains the migrated configuration from your ESLint flat config file.

Now, you can run the oxlint CLI in your project.
npx oxlint@latest
This will lint your project using the rules defined in the .oxlintrc.json file. In this case, it looks like there’s something that needs to be fixed in one of the project files.

Alternatively, if you prefer to install it as a dev dependency, you can run:
npm install --save-dev oxlint
Then, you can add a script to your package.json:
{
    ...
    "scripts": {
        "lint": "oxlint"
        ...
    }
}
Now, you can simply run the linter with:
npm run lint
Handling Unsupported Rules
Oxlint supports a wide range of rules which include the core ESLint rules themselves, typescript, and eslint-plugin-react.
However, there may also be some rules that are not yet implemented, as shown below:
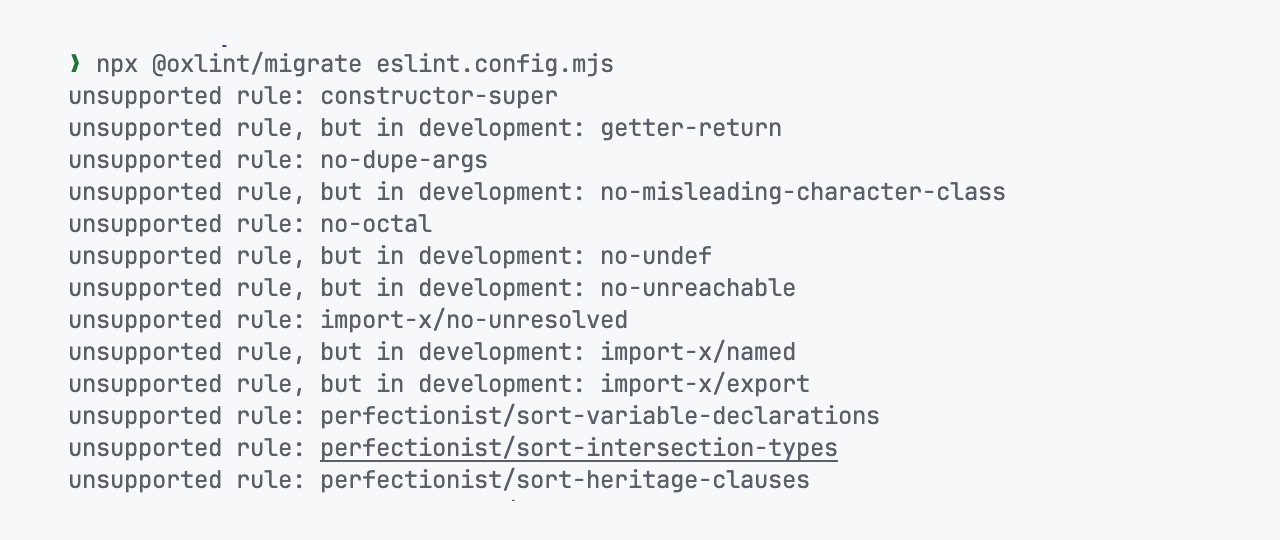
If you encounter any unsupported rules during the migration process, like those shown above, and you still want to retain these rules in your project, you can use eslint-plugin-oxlint instead.
This allows you to continue using your existing ESLint rules while taking advantage of Oxlint’s performance benefits.
To install the plugin, you can run:
npm install --save-dev eslint-plugin-oxlint
After it has been installed, you can add the rules from the previously generated file to your ESLint config file:
import oxlint from 'eslint-plugin-oxlint';

export default [
  ..., // Load other ESLint plugins.
  ...oxlint.buildFromOxlintConfigFile('./.oxlintrc.json'), // Load rules from Oxlint config file.
];
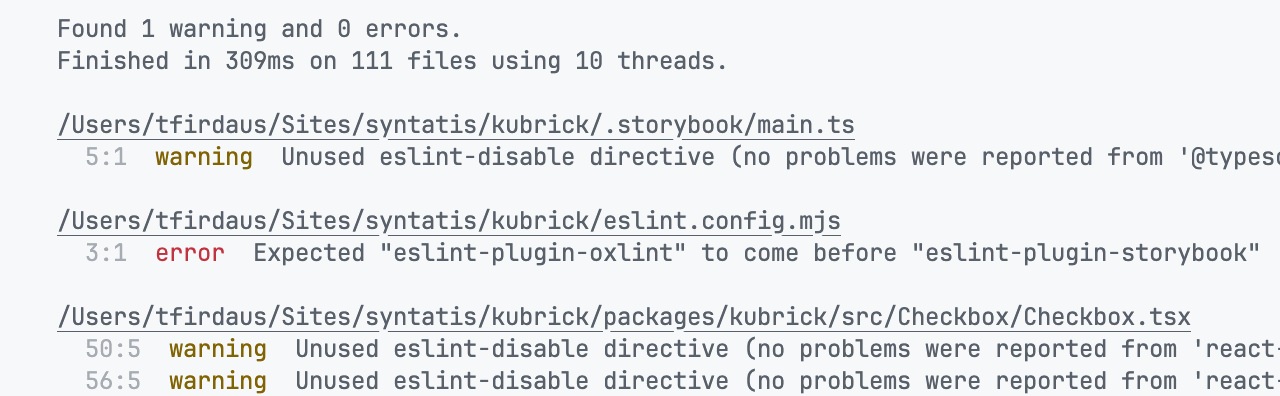
Next, update the lint script in your package.json to include running both oxlint and eslint:
{
  "scripts": {
    "lint": "npx oxlint && npx eslint"
  }
}
This way, you can still use ESLint for the unsupported rules while benefiting from Oxlint’s speed for the rest of the code linting needs.
Wrapping Up
Switching from ESLint to Oxlint isn’t just about changing tools. It’s about optimizing your workflow and reducing the pain of slow linting.
ESLint is still powerful with its rich ecosystem, but Oxlint takes a fresh approach by focusing on performance and simplicity right out of the box.
Built in Rust and designed with a zero-config setup, Oxlint gives you lightning-fast linting that scales even in large projects.
I’d suggest giving it a try in some of your small to medium-sized projects. You might be surprised at how much faster and smoother your development process feels.