How to Setting Up Zohomail For Beginners
If you run a small or medium business, an email service with custom domain can be pretty useful in streamlining coordination with your team. There was a time when you could get free email service from Google Apps or live.com with custom domain. However, subscribing to paid versions of these email services might be too expensive.
Fortunately, there is still one provider that offers free email service with custom domain, and a number of useful features i.e., Zoho Mail.
In this article, we are going to guide you through different aspects of Zoho Mail and how to incorporate them. So, let’s take a look at the following.
10 Best Google Gmail Alternatives
Gmail is a popular email service provider used by millions, however there are many features that it misses... Read more
Benefits of a Cloud Email Provider?
You might be wondering why you should use another email service while your web hosting also provides email service. There are several reasons why you should use email provider, especially cloud / SaaS service, like Zoho Mail instead of the one that your web hosting provides.
- Better reliability and availability – Cloud email providers are used by many organizations and are more reliable than email server that your web hosting provides.
- More Inbox space per user – If you use email service from your web hosting provider, the inbox will be just a part of total disk space that they provide. If you have 10 GB disk space on the server and you already use 5GB for your website, database and contents then you can only use 5GB space for the whole company. With Zoho Mail you can provide 5GB of inbox space to each user.
- Collaboration apps – It’s not only email, you can also use Zoho Docs and CRM and a lot of Zoho apps for collaboration inside your company.
- Additional users through referrals – By default you can get 10 user accounts in Zoho Mail, however, if someone registers to Zoho Mail from your referral, you can get up to 15 additional accounts for 3 referrals.
Registering for Zoho Mail
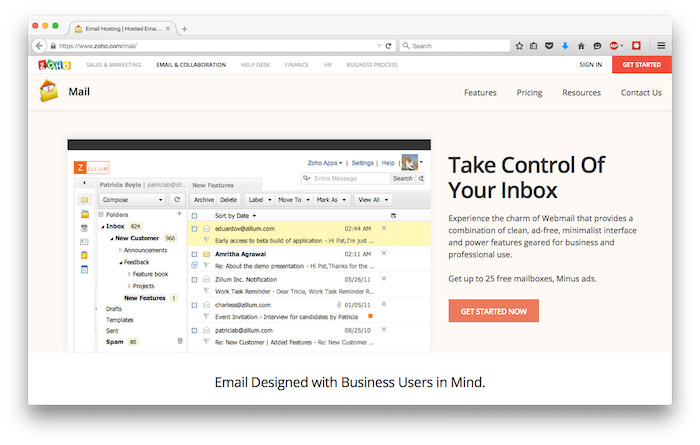
- Open Zoho Mail, and click on Get Started Now.
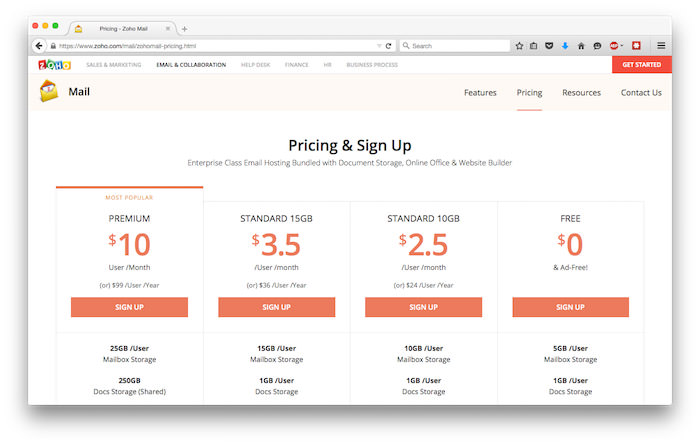
- Choose Sign Up on the FREE package of Zoho Mail.
- Enter your domain name and click Add Domain. If you have no domain yet you can also buy domain via Zoho Mail.
- Input your details on this page. Your Zoho Mail ID will be your administrator account. After filling up this form, click Sign Ups.
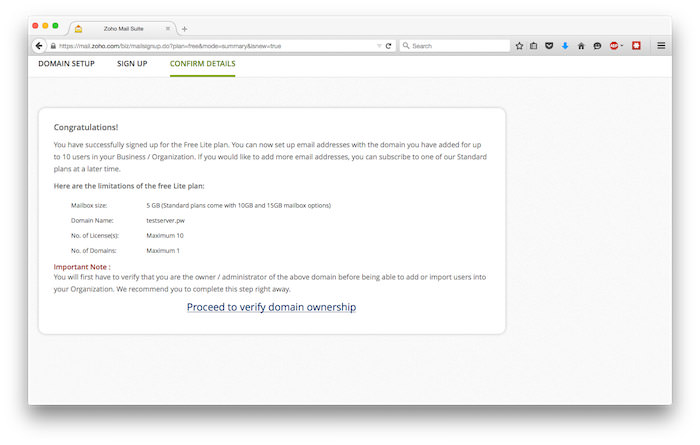
- Your Zoho Mail account is almost ready. Now it’s time to verify domain ownership. Click on Proceed to verify domain ownership.
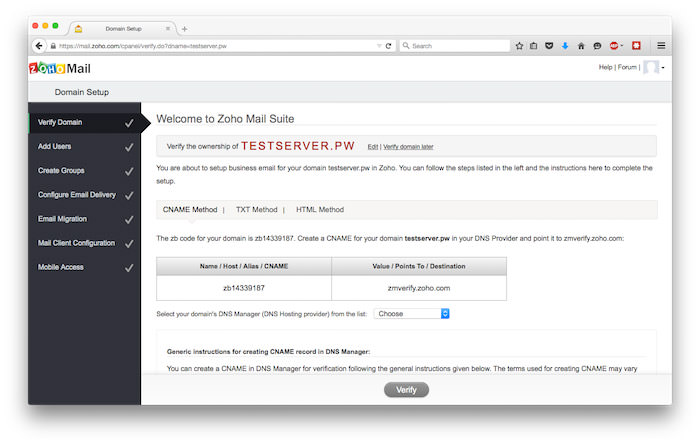
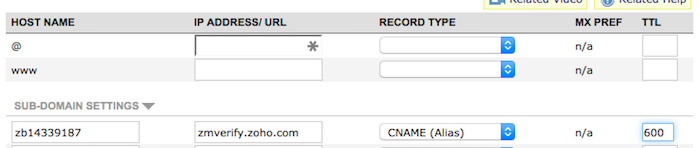
- Zoho Mail will give host name that you have to create as alias of
zmverify.zoho.com. - Below is a sample of alias / CNAME creation on Namecheap DNS panel.
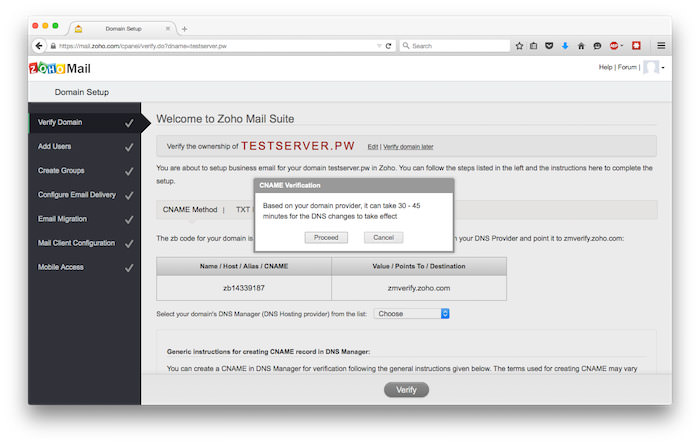
- After creating alias / CNAME on your DNS panel, you can click Verify, and Proceed.


Setting up Zoho Mail
After registering Zoho Mail account for your domain and verify domain ownership, now it’s time to setup your account.
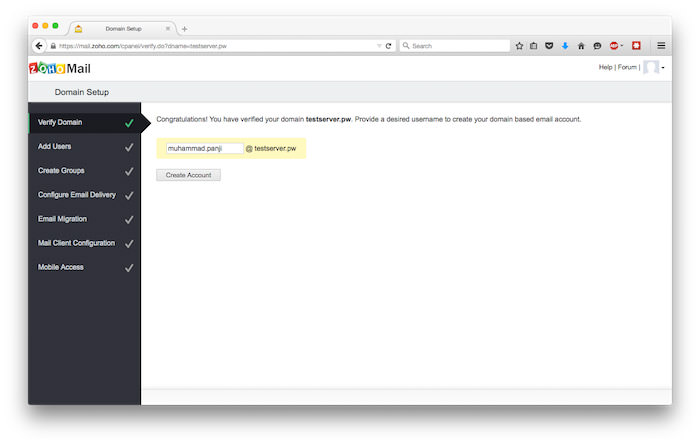
- Create your first account under your domain name. This is also your administrator for your account.
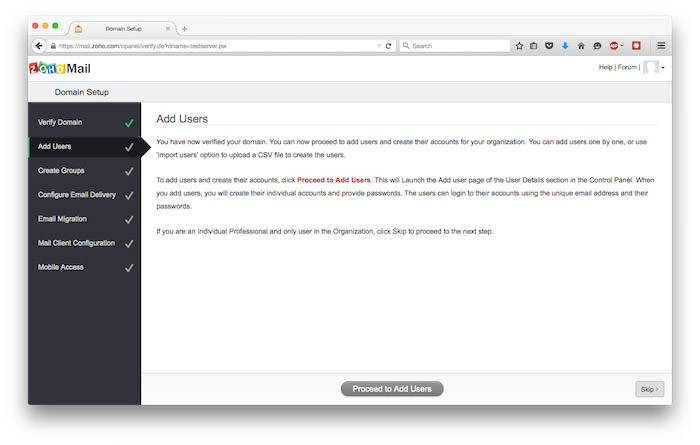
- You can add users in this step if you already have users.
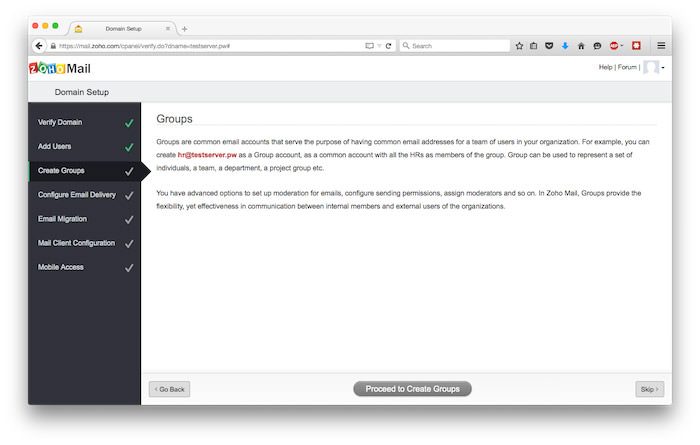
- Groups are useful for generic address like
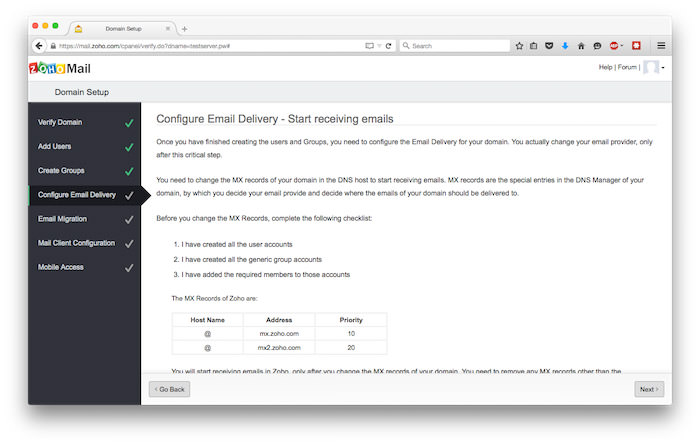
info@yourdomain.comorfinance@yourdomain.com, this will make sure that email that prospects or customers send is always read by someone in your team. You can create groups in this page, however, in this article, I’ll skip this step. - Mail Exchange Record or MX Record is a DNS value that informs mail servers who is responsible for handling your email. In this page, you will see the MX entry that you should create for your domain. The hostname should be
@which means yourdomain.com and not your subdomain. You might not be able to change the priority to 10 and 20. It is ok to use another number, like 1 and 5 or 5 and 10 as long as the priority number formx.zoho.comis smaller thanmx2.zoho.com. - Below is sample of MX entry on Namecheap DNS panel.
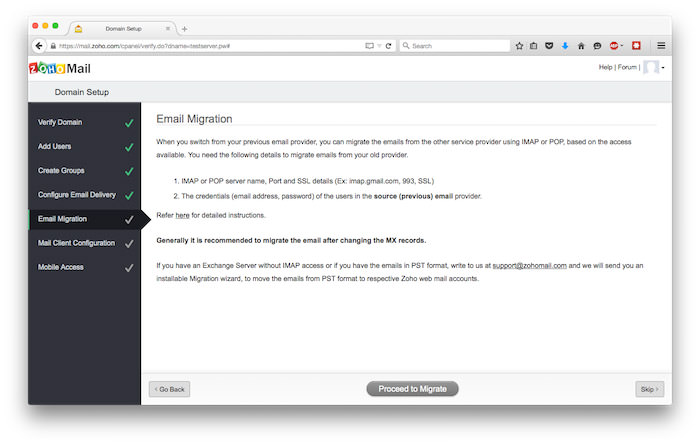
- You can migrate your email from your web hosting provider to Zoho Mail. You can use POP or IMAP to migrate emails from your old mail server to Zohomail. As suggested by Zoho Mail it’s better to migrate the email after changing MX records.
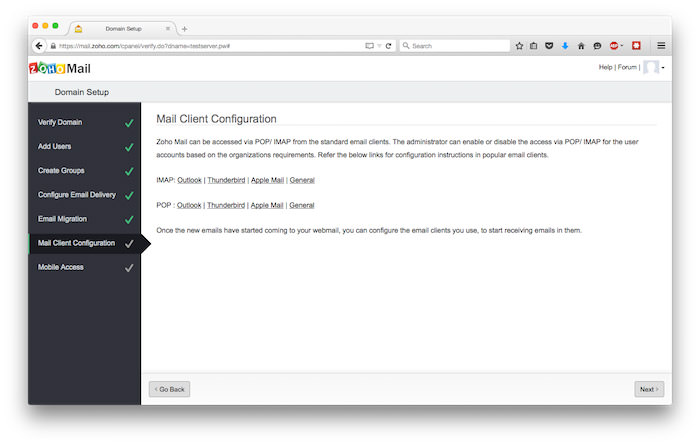
- On this page, you can see links to tutorials for mail client configuration. If you prefer to use a desktop mail client, you can follow the manual for your mail client.
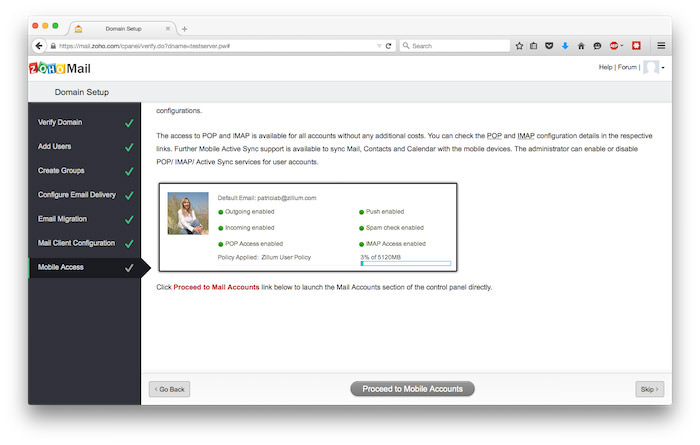
- Through this page, you can setup access from your mobile device. However, in this article we’ll skip this step.
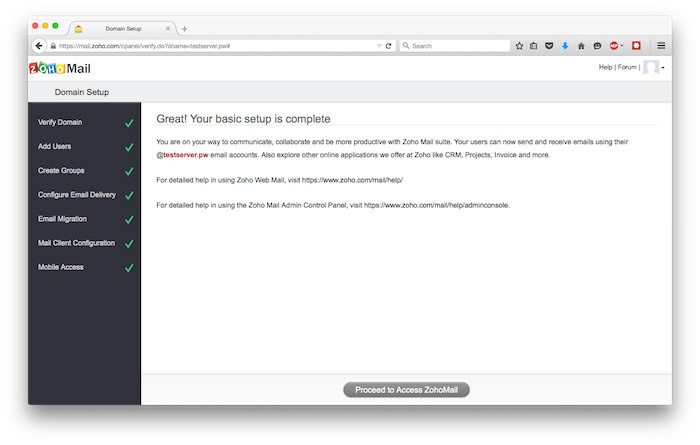
- For the final step, you can click Proceed to Access Zoho Mail.

SPF record configuration
Sender Policy Framework or SPF is a DNS text record associated with domain to identify the servers permitted to send emails for the particular domain. The recipient uses SPF record to verify that it’s a permitted server that sends emails to them.
For Zoho Mail you can create new TXT entry for your domain with entry below:
v=spf1 mx include:zoho.com ~all
Below is a screenshot of TXT record for SPF record.

DKIM configuration
DomainKeys Identified Mail (DKIM) is an email validation systems that was designed to prevent spoofing. The recipient will check for DNS entry that contains public key. Using this public key the recipient can verify that the message, including the attachment, is not modified during transport. We can use DKIM on Zoho Mail, and in the following we will show you how to execute its setup.
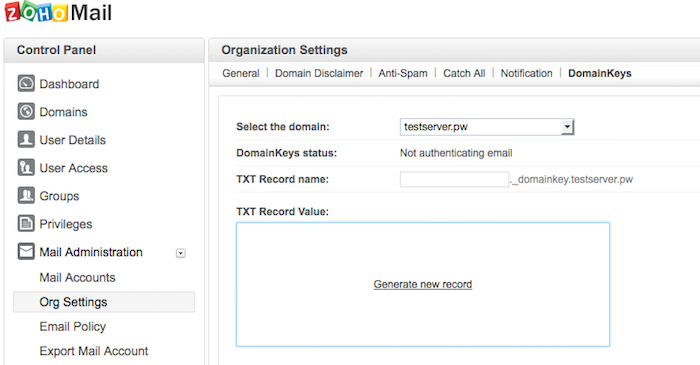
- From your mail dashboard you can choose Control Panel > Mail & Docs.
- Choose Org Settings under Mail Administration, and then select DomainKeys Tab.
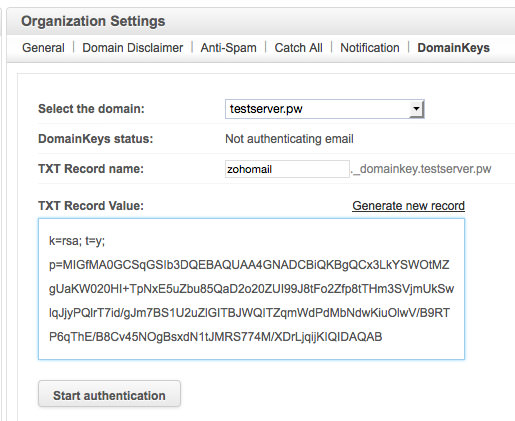
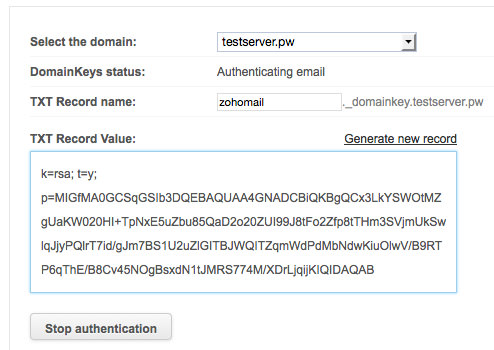
- Input TXT record name, using a unique name to identify Zoho Mail, like zoho or zohomail (I’m using zohomail here). Click Generate new record to generate new TXT value.
- With a new TXT value created, you can now create new DNS record with type TXT record.
- Below is a sample of DNS entry on Namecheap DNS panel.
- After creating new DNS records you can click on Start authentication button. Once authentication is successful, the button will change to Stop authentication.


Accessing Zoho Mail using custom URL
You can access Zoho Mail from https://www.zoho.com/mail/login.html or you can just open Zohomail.com and click Sign In on top right of the page. However, to make it easier for your users to access Zoho Mail web, you can create custom URL for the sign in page e.g: mail.domain.com or webmail.domain.com instead of the long URL above.
What you need is to create an alias or CNAME for your custom URL to business.zoho.com. Below is a screenshot of CNAME creation on Namecheap domain management.

Setting Up the Two Factor Authentication
To improve the security of your email account, you can employ Two Factor Authentication or TFA, to have an additional security method beside the password. Even if someone knows your password they cannot login to your account as long as they have no access to the TFA device.
The following is an explanation on how to set up the TFA for your Zoho Mail account.
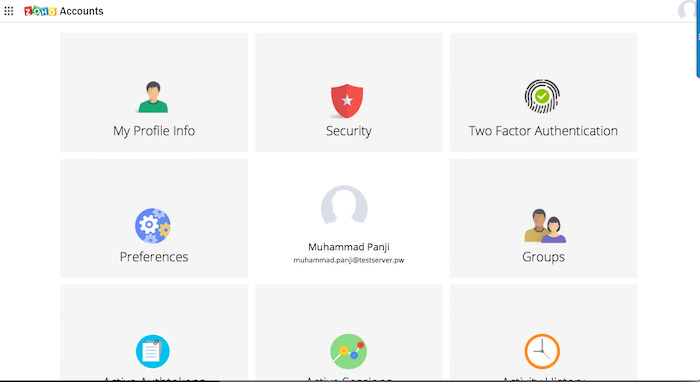
- Click your avatar on top right, and choose My Account.
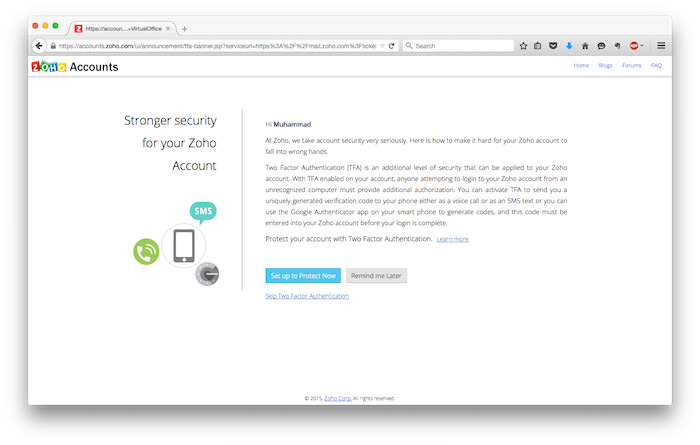
- Click Set Up to Protect Now.
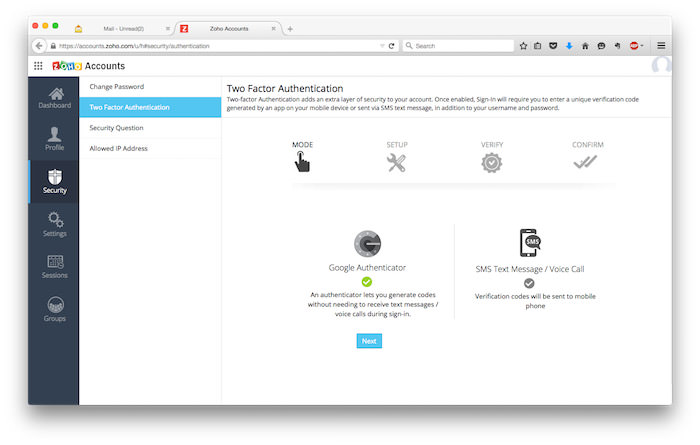
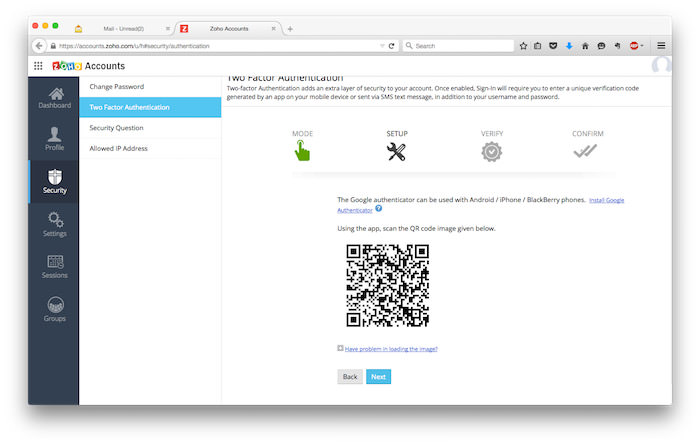
- Choose Google Authenticator, click Next.
- You can scan the QR code presented by Zoho Mail with the help of Google Authenticator. It’s available for Android on Google PlayStore, for iOS device on iTunes as well as for Blackberry. You might also need a barcode scanner. For Android, I use the one suggested by the Google Authenticator Barcode Scanner by ZXing Team.
- Here, you will also be shown how to create MFA device using Android smartphone. Open the Barcode Scanner so we can scan QR code that Zoho Mail has provided.
- I have two authenticator apps on my phone so I get this screen to choose between Google Authenticator and Duo Mobile. For this, I’ll choose Google Authenticator.
- You will receive the confirmation to save the key for your account. Tap OK.
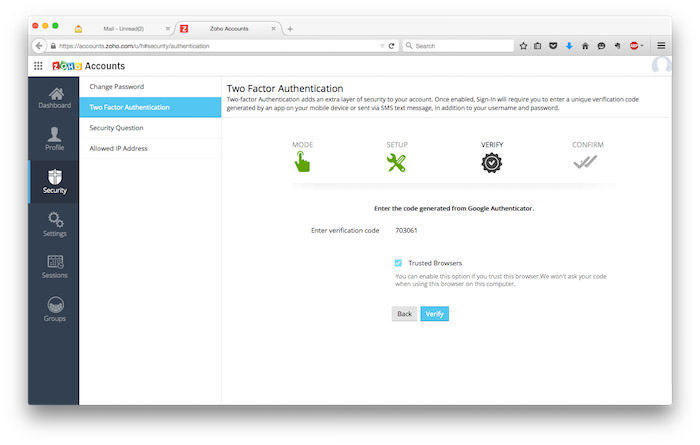
- If you just started using Google Authenticator, it will only show one account. Since I have multiple accounts using this software, it will be the last one of the list. The number shown here is the verification code that you have to enter in the next step. Input the verification code and click Verify. If you are using your own computer you can also click Trusted Browsers so you won’t be asked again for TFA. , and then click Verify.
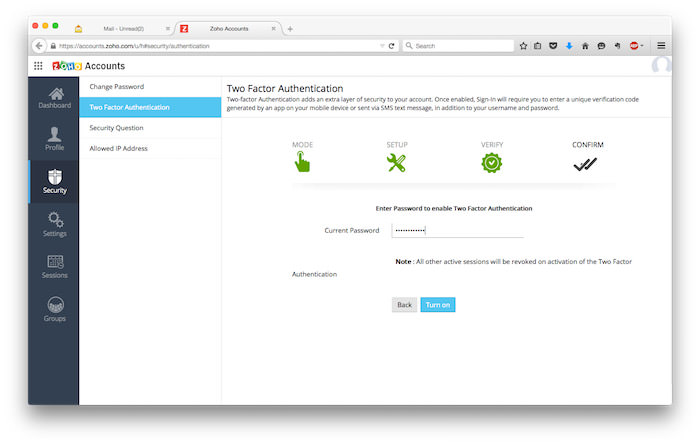
- Input your current password, and click Turn On.
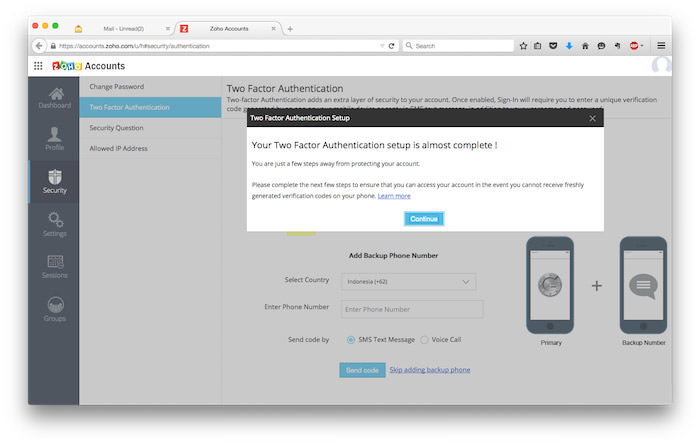
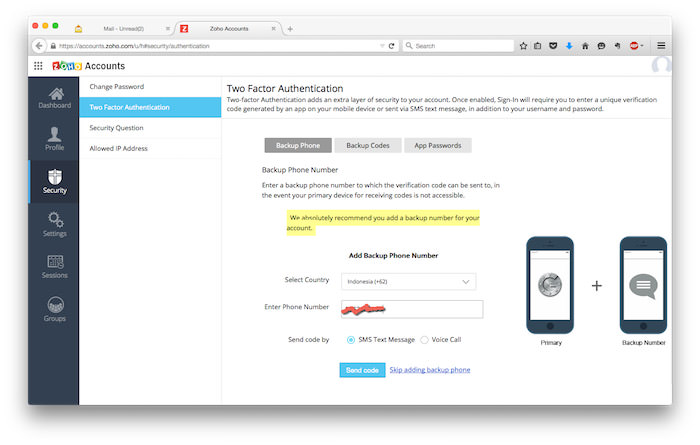
- TFA setup is almost complete. Now we need to verify the phone number. This step is optional, though.
- Input your phone number, and click Send code. Zoho Mail will send you a text message containing the verification code.
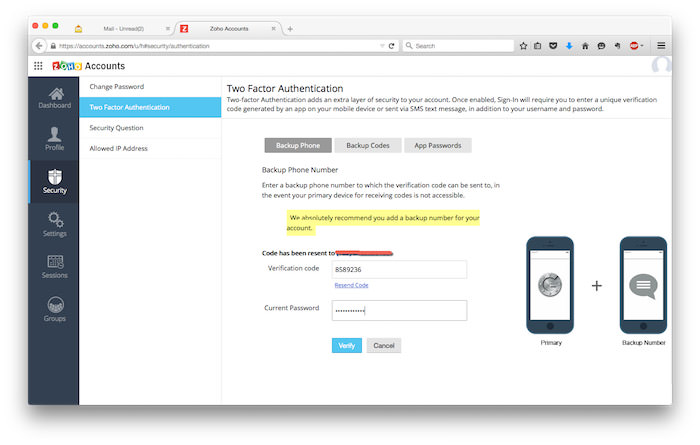
- Input the verification code that Zoho Mail has sent, and click Verify.
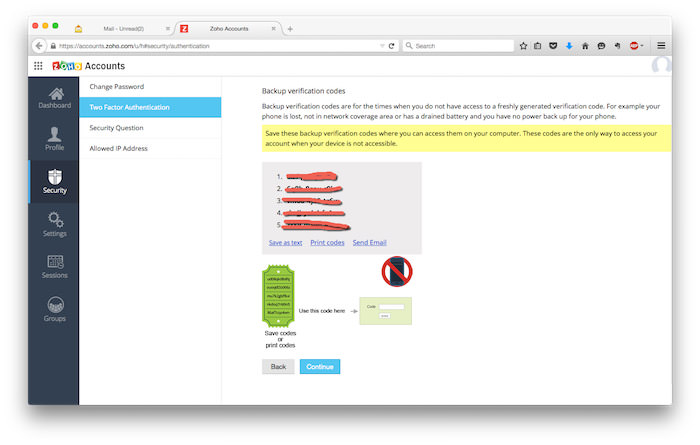
- You will have the Backup verification codes.
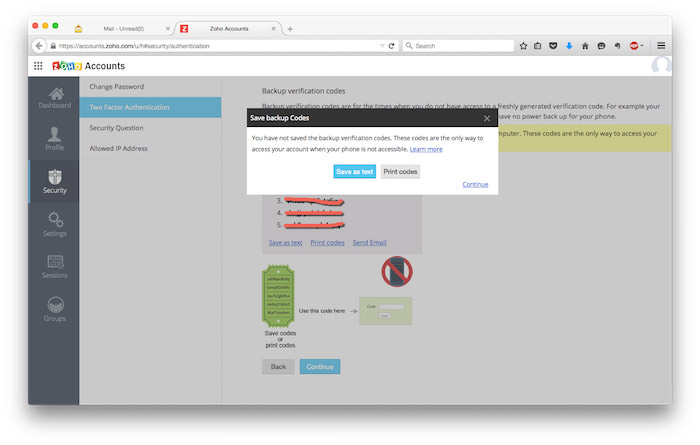
- You can save these codes as text or get them printed. You can use these backup codes as authenticators, if you lose your phone.
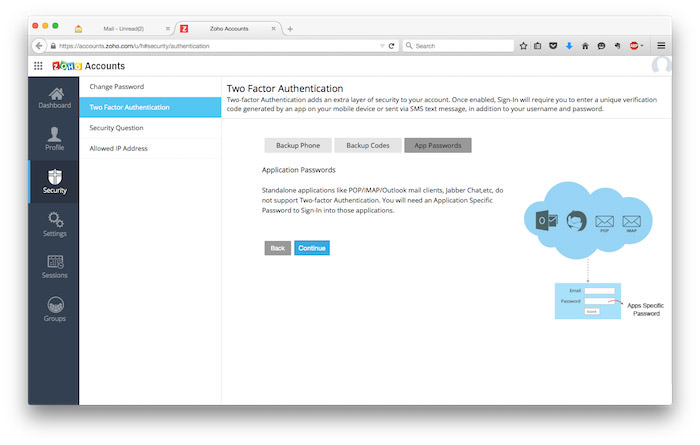
- In case you are using Two Factor Authentication, you need to create application-specific passwords for each application that you use to access Zoho Mail, including your desktop mail client. To do sp, click Continue on this step.
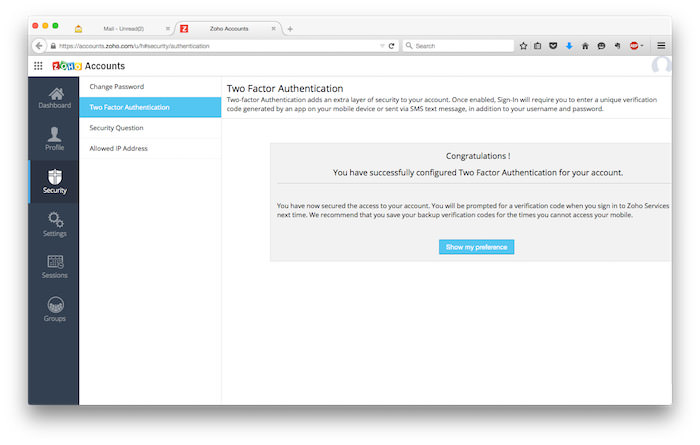
- Two Factor Authentication configuration is finished. You can click Show my preferences to go to your preferences page.
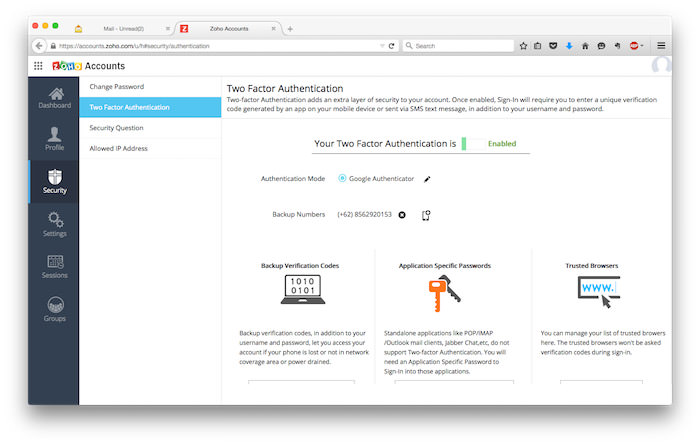
- On Preferences page you can see your Backup Verification Codes, setting up Application Specific Passwords, as well as your current Trusted Browser.
Setting Application-specific Passwords
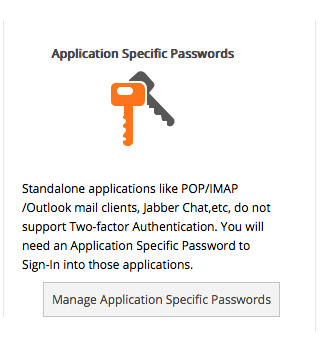
As I mentioned earlier, if you are using TFA on your account, you need to generate application specific passwords for each application that you use to access Zoho Mail. In the following steps we’ll learn how to execute it.
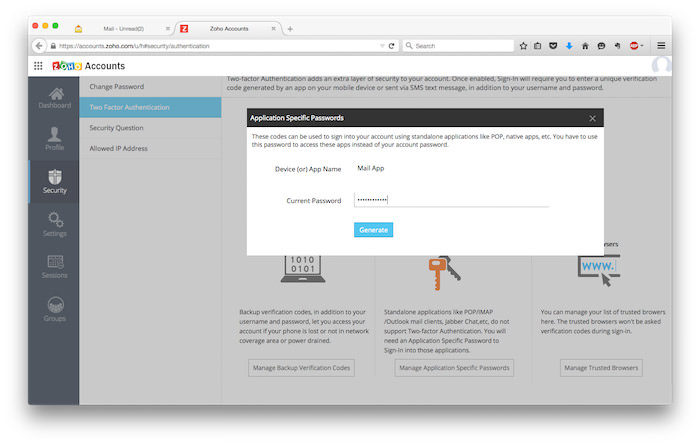
- Click Manage Application Specific Passwords.
- Input the name for this application specific passwords and also your current password.
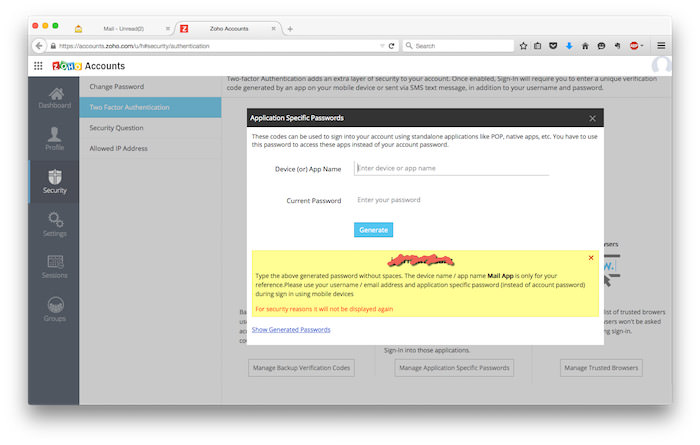
- A new application specific password will be generated by Zoho Mail. You can only see this once, so make sure you keep the password saved.
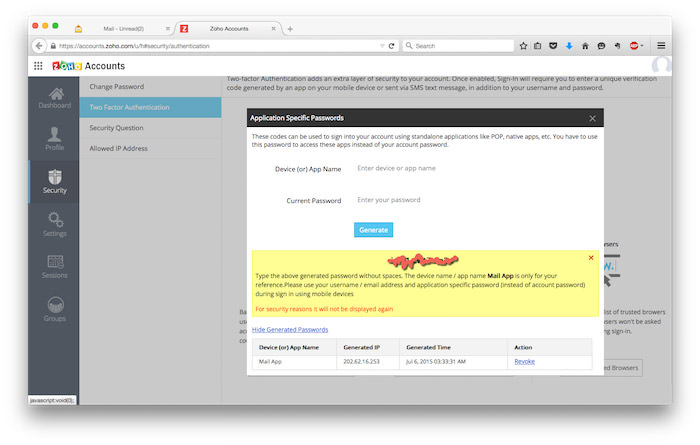
- On the right bottom, you can click Show generated password link. You can see the list of application specific password from here and also remove the password if necessarry.
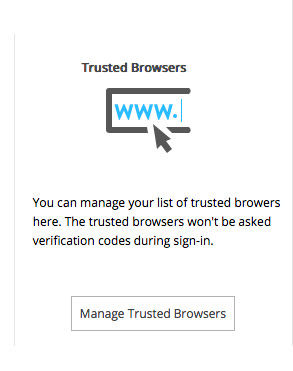
Manage Trusted Browsers
- From accounts.zoho.com, choose Security, select Two Factor Authentication and click Manage Trusted Browsers.
- On this page, you can see a list of browsers that you trust. Here you can only remove a specific browser.

Test Sending Email
Once you finish all the previous steps, your Zoho Mail account is ready to use. Now you can test your new Zoho Mail account by sending a test email. In the following example have sent a sample email to my gmail account. The email was successfully received by my gmail account.
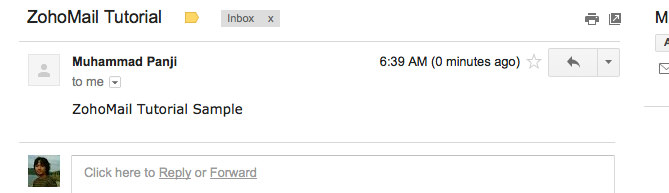
Now let’s check our SPF and DKIM settings. Click on the downface triangle beside the reply button, choosing Show Original.
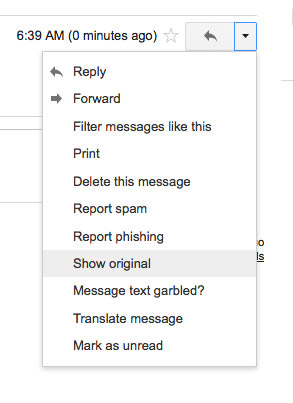
You can see here that Google has shown your SPF and DKIM configuration.

Conclusion
In this informative article, I have tried to show you how to register new Zoho Mail, setup Zohomail MX, SPF and DKIM, create custom URL to access Zoho Mail, configure Two Factor Authentication, as well as test email sending from Zoho Mail.
Now you can put your email address with your own domain confidently, and communicate seamlessly with your clients or team.
Read Also: Email Marketing: Tips to Do it Well