How to Setup WordPress Using OpenShift
OpenShift is a platform-as-a-service from the open source leader, Redhat. It works on the open source OpenShift code running on RHEL systems. OpenShift can be used to host and run a variety of software, and it supports various open source technologies and databases. It has built-in support for several programming languages.
Do you want a free self-hosted WordPress blog? We’re going to demonstrate how to install and run an instance of WordPress blogging software on the OpenShift platform in just an hour.
Recommended Reading: How To Host Your Personal Website On Google’s Servers For Free
Why OpenShift?
Good question! OpenShift is just a PAAS like many others, then what’s the fun in hosting your WordPress blog on RedHat’s platform? On top of easy code maintenance using Git, and support for PHP and MySQL, OpenShift comes with a free plan of 3 small gears.
What are gears? Gears are virtual containers with a set of resources that allows users to run their applications. An application can utilize many gears, and that’s what is known as scalability. Small gears provide 512MB RAM and 1GB disk quota under the free plan.
Set Up Your Self-Hosted WordPress Blog
It’s a simple three-step process:
- Create an OpenShift account
- Create an application using WordPress source code
- Configure WordPress’ required settings.
1. Create An OpenShift account
Sign up for OpenShift if you don’t already own an account. An OpenShift account is required to boot your application framework, submit your app’s code (using Git) and launch your WordPress application.
2. Create An Application
An application is simply a software running on the OpenShift platform. Unlike an application on your Android or Windows device, an application on OpenShift doesn’t demand all of the system’s resources, it only accesses the resources available to it in scale of gears. OpenShift also allows automatic scaling of gears for your application.
Follow the given steps to create an application:
1. Log in to the online console of OpenShift.
2. Choose Applications from the top menu.
3. Click on ‘Add Application’¦’ button.
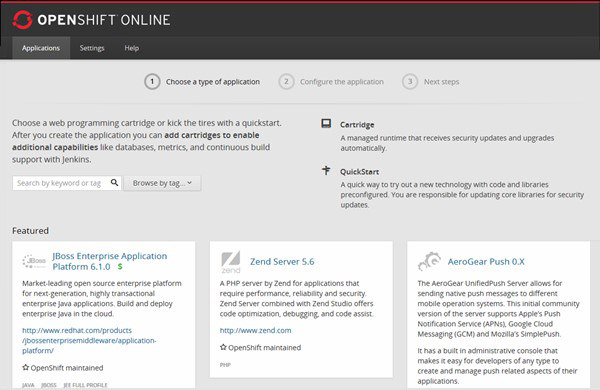
4. Choose a type of application: Scroll below and select WordPress 3.x given under the "Instant App" section.
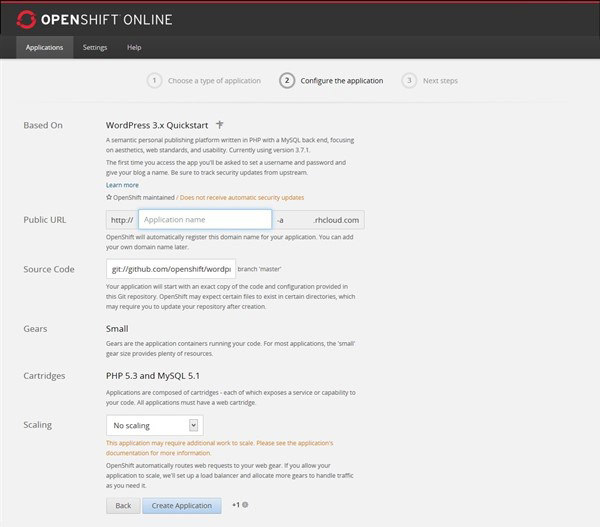
5. Configure the application: Enter your application name, which will be used to create your application’s public URL, and then click on ‘Create Application’ button.
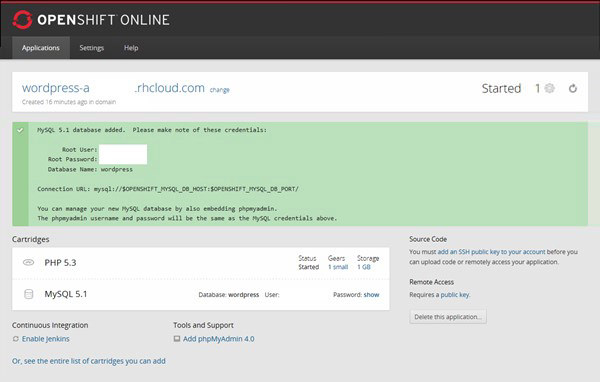
6. Click on ‘No, continue’. You’ll be shown the details of your newly created application. Please make note of database credentials for your application as you may need it in the future.
Well done! You’ve created your WordPress application on the OpenShift platform.
3. Configure WordPress
You’ve started a WordPress application on OpenShift using the WordPress’ Git provided by the OpenShift team, but it’s still not completely configured. It’s just a software hosted on the servers and not a running blog yet. We need to configure the necessary options. Here are the steps:
1. Choose Applications from the top menu.
2. Choose your newly created app from the list.
3. Click on your app’s public URL given at the top. An example of such public URL is blog-aksinghnet.rhcloud.com.
4. Your newly created app gets opened in the browser. WordPress asks for the basics but require information to finalize the installation..
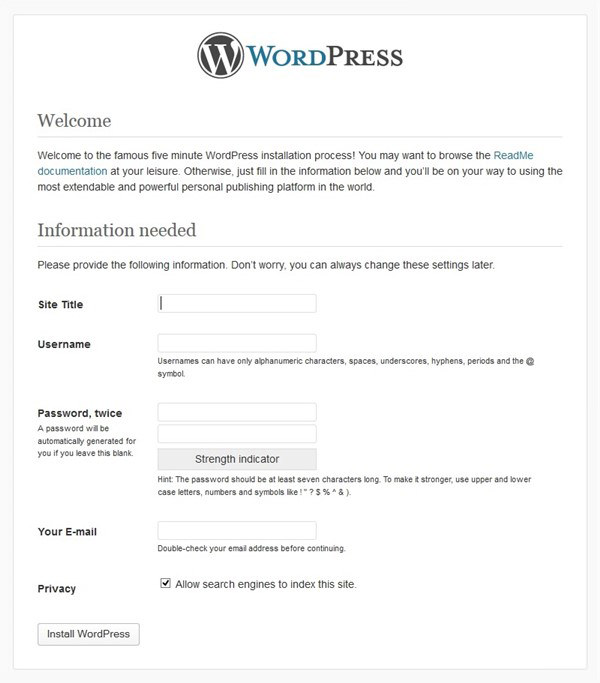
5. Fill them in like below:
- Site Title: Enter the title of your website. For example, Hongkiat.com, AKSingh.net, etc.
- Username: Enter a good username that’s not easy to guess. For example, ash34in85, hk493online58, etc.
- Password: Enter a secure password twice.
- Your E-mail: Enter your email.
- Privacy: Leave it checked.
6. Click on the ‘Install WordPress’ button. WordPress should greet you with success!
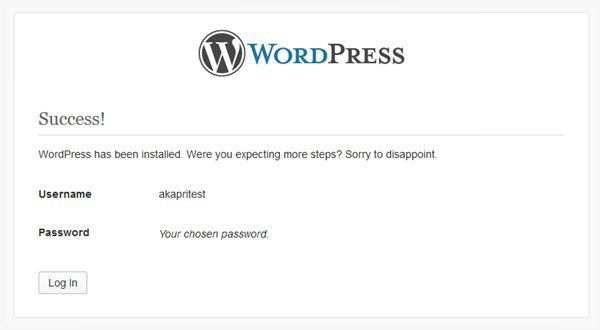
7. Finally, your blog is ready. Click on the ‘Log In’ button, provide your user credentials and you’ll get signed in to your own self-hosted WordPress. It’s exciting, isn’t it?
All Done
Congratulations for successfully setting up your free WordPress blog. A blog created using OpenShift is no different from any other self-hosted WordPress instance. The major difference is that this one is free and you need not go for a hosting plan to host your own WordPress. What are you waiting for? Log in to your WordPress and get creative!
You might also be interested in: