Launching a New WordPress Site – Part 1: Off-Site Tasks
While WordPress and other content management systems make launching a new website much easier than before, it’s still not an easy thing to do. This is especially true if you don’t have any programming knowledge and can’t afford a web developer either. There are so many things to pay attention to that even experienced developers can easily forget something important.
This article has two parts: the first one details the off-site tasks (that you do outside the WordPress admin) & the second one shows the on-site tasks (that you do from the WordPress admin).
Based on the type of the website, there can be other tasks as well, for instance, if you want an eCommerce store these two checklists won’t be enough. However, they contain all the basic pre-launch tasks recommended for any new WordPress site.
Read Also: Everything You Need to Become a Pro WordPress Developer
1. Register a domain
First of all, you’ll need an available domain. Hosting providers let you register a new domain at the same time you buy the hosting plan. In most cases, this is the best option for a new website.
However, you can also transfer an existing domain from another domain registrar. Or, if you want to host your domain name at a different registrar you can also update your nameservers by yourself.
Read Also: 10 Important Factors To Consider Before Choosing A Web Host
2. Buy a hosting plan
When you buy a hosting plan, you basically rent storage for your website on a server owned and maintained by the hosting company. Hosts also offer many related services that help you manage your website, it’s worth browsing these thoroughly before choosing a plan.
For most new WordPress sites, a Linux plan on a shared server will be the best choice.
After you buy the hosting plan, you can access your cPanel, a dashboard where you can manage your hosting account, access your database, create email accounts, and perform other website-related tasks.
3. Install WordPress
You need to install the WordPress software on your site. Most hosting providers offer auto-installers, which means you can run the WordPress auto-installer at the same time you buy your hosting plan.
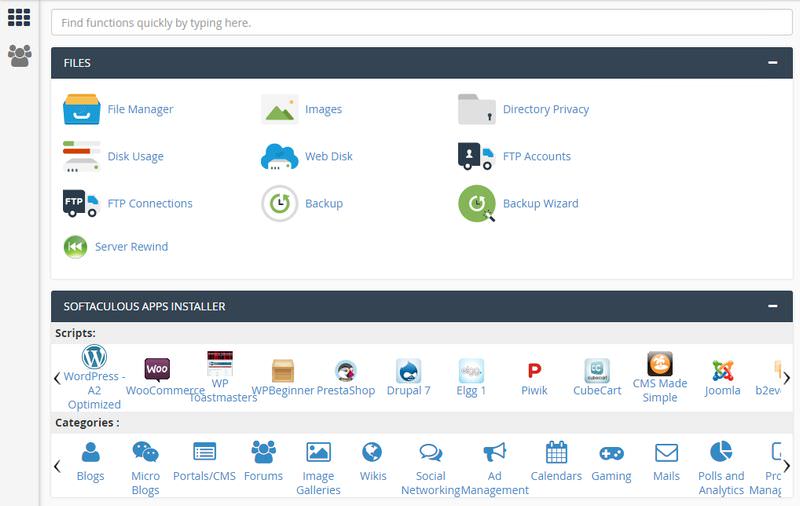
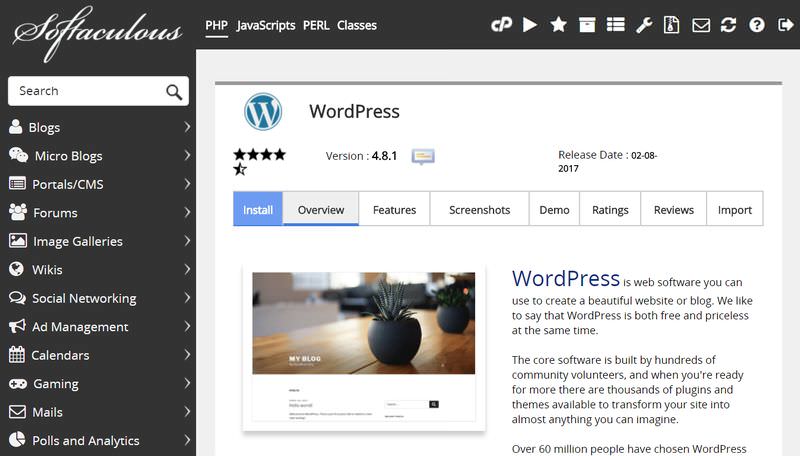
If you don’t want to use the auto-installer you can also install WordPress via the Softaculous app installer that you can find in your cPanel dashboard. You can install several different software with Softaculous. You need to choose WordPress and follow the instructions.
4. Install an SSL certificate
Although it’s not a requirement to have an SSL certificate on your site, it’s very much recommended to use one. First, because users trust a secure site more, and also because browsers have begun to push back against unencrypted websites.
Having an SSL certificate installed on your site means that it will use the secure HTTPS protocol instead of HTTP. So, your URL will be https://www.yoursite.com instead of http://www.yoursite.com.
Luckily, these days most hosting providers give you a free Let’s Encrypt SSL certificate, which is usually enough for smaller websites. You can install/manage it from the Security > SSL/TLS menu in your cPanel.
Read Also: Beginner’s Guide To Website SSL Certs
5. Create email accounts
You’ll need at least one email address for your WordPress website for admin purposes, for instance for getting security notifications. Although you can also use a third-party email provider, such as a Gmail or Yahoo address, it’s worth considering setting up an email address on your own domain.
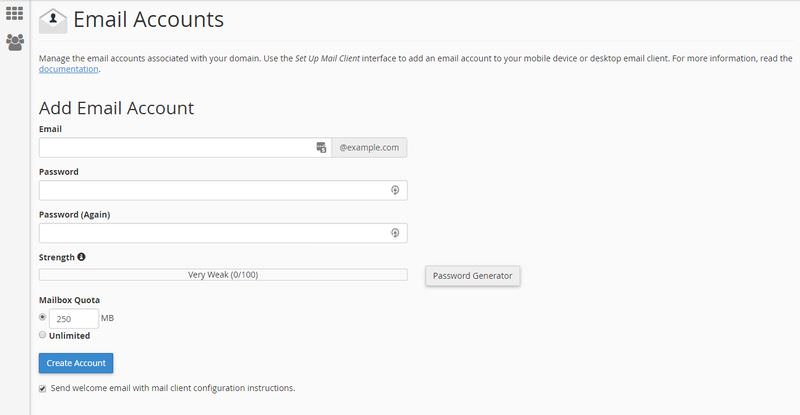
To do so, navigate to the Email > Email Accounts menu in your cPanel and fill in the “Add Email Account” form.
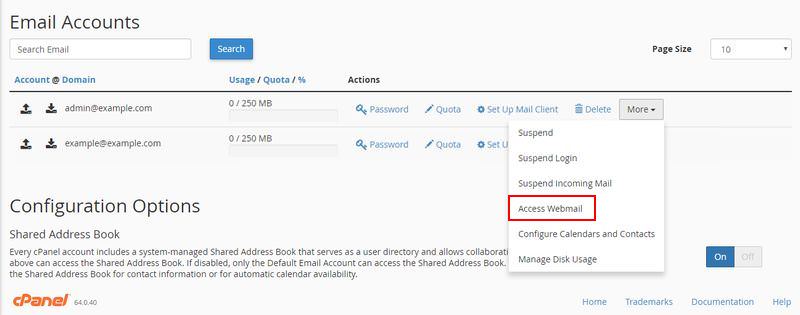
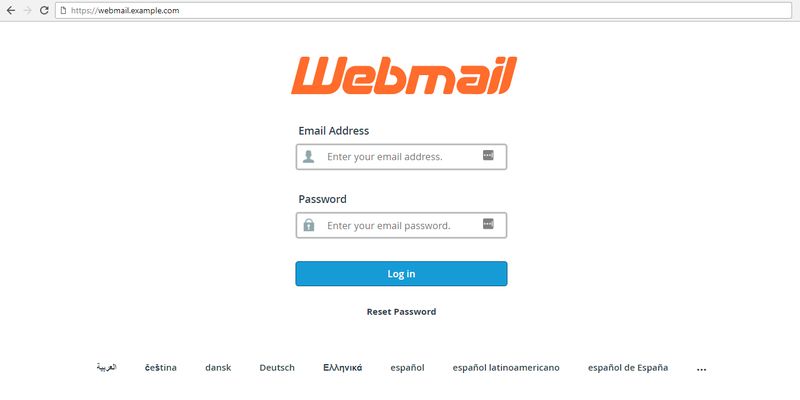
To access your new email address, scroll down on the same page where you created the email account, click on the More button, and select the “Access Webmail” option.
Your mailbox has a separate URL as well, it’s usually either http://webmail.yoursite.com/ or http://yoursite.com/webmail/. You can see it in the URL bar after you log in the account. If you just want to check your email you can quickly access your mailbox from this URL, you don’t need to log in to the cPanel.
6. Set up an FTP connection
To access the files hosted on your server, you will need an FTP connection. As WordPress is an advanced content management system, you can perform most tasks from its dashboard, however sometimes you may need to upload or download files or folders to or from the server.
For instance, when a broken plugin locks you out from the WP admin, the easiest thing you can do is disabling the plugin on the server. Another use case is when you want to modify your .htaccess or wp-config files, as these config files aren’t available from the WP admin.
To access your site via FTP, you need an FTP account. Hosting accounts usually come with two pre-installed special FTP accounts, one for the root access and one for the logs. You can reach the FTP Accounts settings page by clicking the Files > FTP Accounts menu in your cPanel.
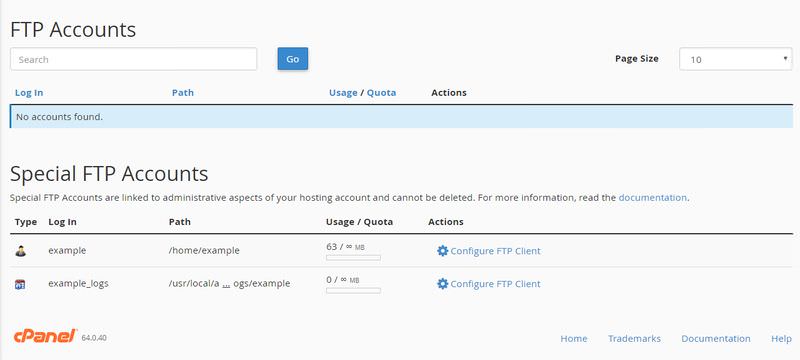
In many cases, it’s enough to use the root account (“example” on the screenshot above), however note that the root account has access to all your files. If you have non-admin users who have to access the server for some reason you can create restricted FTP accounts for them with which they can access the folders they need (but not more). You can create these extra FTP accounts on top of the same page.
If you click the “Configure FTP Client” option, it opens a drop-down tab where you get all the data you need to configure the FTP client. For instance, my hosting provider offers config files for three different FTP clients: FileZilla Client, CoreFTP, and Cyberduck.
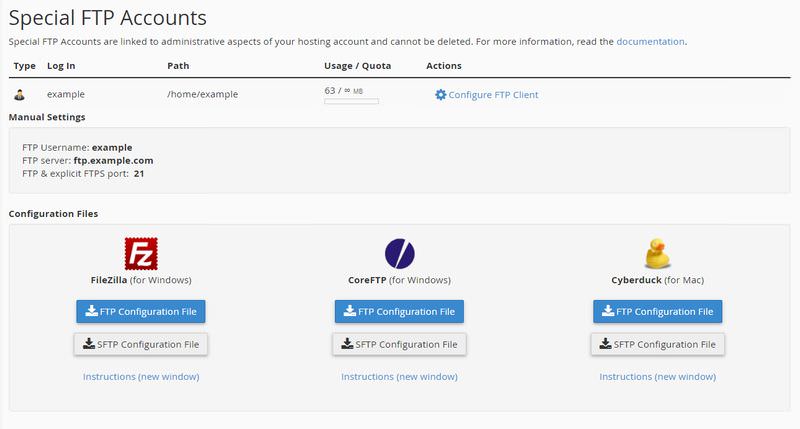
You need to install one of these FTP client software separately on your computer and follow the instructions (can be found on this screen below the config files).
You can use SFTP instead of FTP as well. SFTP sends your files encrypted between the server and your computer. It’s a more secure solution but also harder to set up (you need to generate security keys).
After you connected your server via FTP, you will find your WordPress install in the public_html directory.
7. Register your site with search engines
If you want to have your site present on search engines, you need to register them. You can submit it to Google at Google Webmaster Tools and to Bing and Yahoo at Bing Webmaster Tools. Some people register their site only with Google, however there are some good arguments for not ignoring Bing Webmaster Tools.
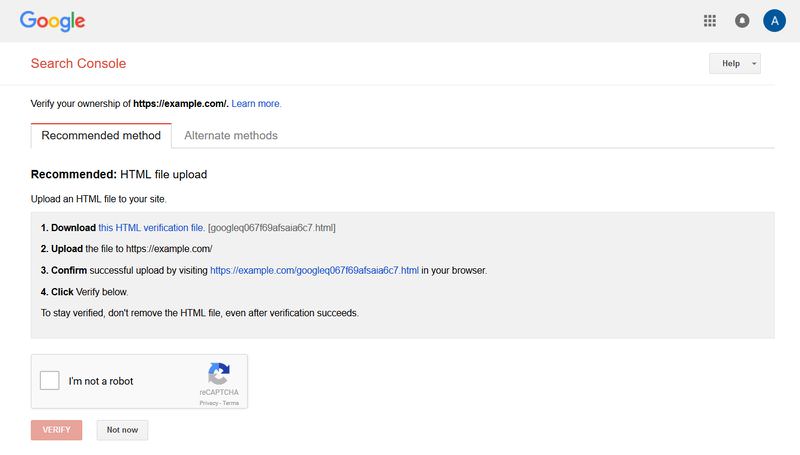
To use Google Webmaster Tools, you need a Google account, however you can use an existing one. Sign in to the site and on the main screen, click the “Add a property” button and type in the URL of your website.
You need to verify that the website belongs to you. To do so, download the HTML verification file Google provides you with, and upload it via FTP to your server into the public_html directory. When it’s done, click the “Verify” button.
For the best search results, it’s worth adding the following four versions of your URL:
http://www.yoursite.comhttp://yoursite.comhttps://www.yoursite.comhttps://yoursite.com
Add all of them as separate properties, finally set your preferred version according to these instructions. If you use an SSL certificate select one of the HTTPS URLs.
Registering your site with Bing Webmaster Tools works similarly. You need a Microsoft account, then you log in to Bing Webmaster Tools, add the URL of your site, and upload a verification file to your server via FTP. Note that the Bing verification file is not an HTML but an XML file.
8. Set up a Google Analytics account
Your site will need some kind of analytics as well so that you can understand your traffic better. Although there are several web analytic tools, the biggest one is Google Analytics, however many sites use more than one analytics tool.
To use Google Analytics with WordPress, you’ll need a plugin (see it in the second part of this article). But first, you need to create your account. It’s the best if you use the same Google account you use for Google Webmaster Tools, as you can link these two services.
Read Also: 20 Must-Know Tips & Tricks To Master Google Analytics Data
In your Google Analytic Dashboard, you can see all kind of statistics, based on metrics such as real-time user presence, source of traffic, referrals, countries, and others. You can also make a ton of further configurations to make the stats provide you with the information you need.
Further off-site tasks
In this article, I showed the most important off-site tasks you need to perform when you launch a new WordPress site, however it’s not a comprehensive list. In your cPanel, you’ll find several other options you can use for successful website management. It always depends on the hosting provider what features they offer to their users. Some of the options will differ from provider to provider, however there are many ubiquitous ones.
Probably the most important off-site task not detailed in this article is to plan a reliable backup workflow. Most hosting providers have backup management tools, and some of them even make automatic backup possible. The features highly depend on the type of your hosting account. Note that backup can be done both from cPanel and with a WordPress plugin, choose the solution that fits you the best (just don’t forget about it).
Read Also: Launching a New WordPress Site – Part 2: On-Site Tasks