How to Disable Windows 10 Lock Screen
There are so many ways to customize Windows 10, one of which is to disable the lock screen. Though Windows 10 lock screen has some beautiful images, however, some people find it to be counter-productive and want to go right to the desktop as soon as they start your computer.
In this post, I’ll show you how to bypass the Lock Screen in Windows 10. However, in order to do so, you’ll need to edit Windows’ Registry. As such, if you’ve never edited the Windows Registry before, I recommend that you make a backup before attempting to disable to lock screen.
Let’s dive in.
Read Also: How to Access Windows 10 Boot Options Menu (6 Ways)
- Access the Registry Editor by typing Regedit into the Search Bar/Cortana.
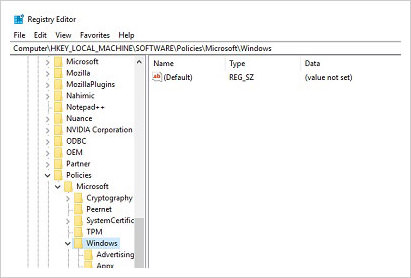
- In the Registry Editor’s address bar, type in the following:
Computer\HKEY_LOCAL_MACHINE\SOFTWARE\Policies\Microsoft\Windows. - Once you’re there, right click on a blank space and create a New Key. The key would be named “Personalization“.
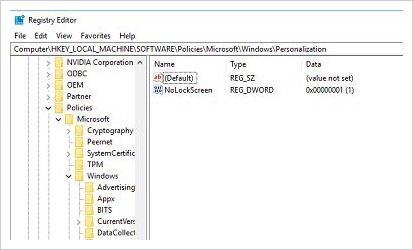
- In this Key, create a new DWORD and call it “NoLockScreen“. Once done, set the value of NoLockScreen to "1".


Once these are done, you can proceed to reboot your computer to test out the new settings. If done correctly, Windows 10 would automatically place you at the Login Screen upon reboot.
If you’ve disable the need to input a password in order to access Windows 10, you’ll be brought to the desktop immediately.
In the event that you would like to have the lock screen back, all you have to do is access the “NoLockScreen” DWORD that you’ve created and change the value to "0".
Read Also: 5 Android Apps for Less Boring Lock Screens